
22 Sep Halloween Harlequin Pumpkin – Tutorial
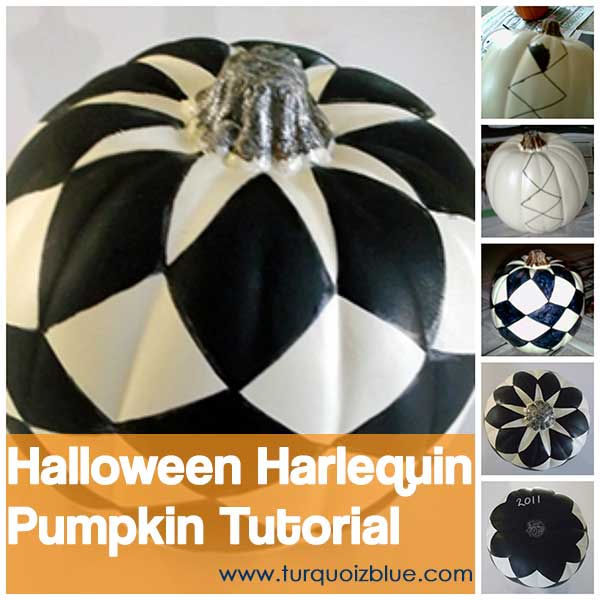
Halloween Harlequin Pumpkin Tutorial
I made this Halloween Harlequin Pumpkin two years ago at the same time I did the Halloween pumpkin craft project with my granddaughter when she was a toddler. I was attempting to come up with a more adult way to decorate a pumpkin so that it would blend in more with my decor. I like kitchy, folksy items, but I don’t like them for my style of decorating in my home. So I decided to use a black Sharpie marker and acrylic paints to make a harlequin design on my pumpkin.
For this project I used:
- One (1) white, medium sized craft pumpkin (purchased at Michaels)
- Matte black acrylic paint
- Silver glitter acrylic paint
- Black sharpie marker
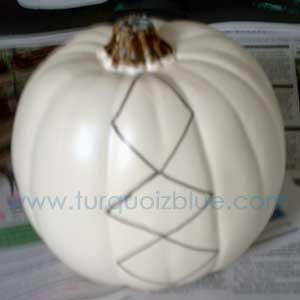
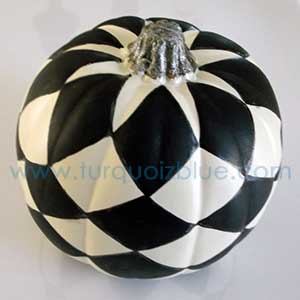
First, I counted the number of segmented sections on the pumpkin so that each painted section would be evenly distributed around the perimeter of the pumpkin and combined the thinner sections to make larger ones (i.e., if your pumpkin has 11 sections, combine two sections so that you will have ten sections. Or you will end up with one skinnier section. Or if you are combining two sections for each segment, like I did, you may have to combine three sections for one segment. It just depends on how the pumpkin is made. Just make sure the segments are even).
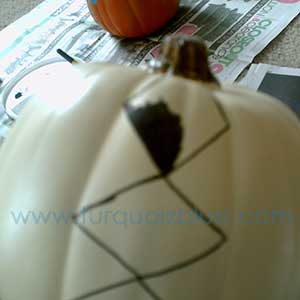
Next, I used the sharpie marker to draw connecting diamond shapes within each section. Just free-handed it. You can see that I went across two sections for this segment. At first I used the sharpie marker to fill in each diamond shape, but it didn’t give solid coverage and looked streaky.
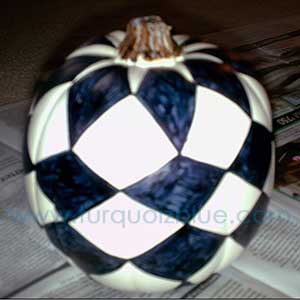
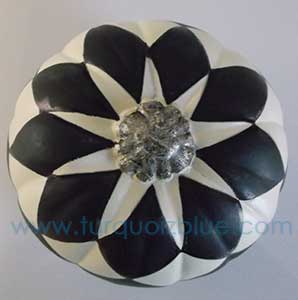
So, I went back over each diamond shape with the matte, black acrylic paint. This made a big difference and looked so much more finished. Then I went back around each diamond shape with the sharpie marker to clean up any rough-looking edges. If you look at the views from the top and bottom, you can see the segments are different sizes, but it doesn’t take away from the overall look. I finished the pumpkin by painting the stem with the silver glitter acrylic paint.

I want to make a new pumpkin to compliment the Halloween Harlequin Pumpkin. I have another larger, solid black pumpkin that I usually use with this one, but I think I want something with more pizazz. Maybe feathers or some bling. I going to look around the web and see what others are doing. If you all see any good projects, post the link in the comments section.
Save
Suzee Williams
Posted at 12:47h, 24 SeptemberI love your harlequin pumpkin and thank you so much for posting a tutorial. I am going to attempt to make one. I saw on the internet that someone had removed the stem from their faux pumpkin and had taken an old door knob and used it in place of the stem. It looked beautiful and elegant.